- By Vincent Cheung
- In Tutorials
How to Prepare Kiss-Cut / DiE-Cut line for Stickers
01.Prepare the Artworks
Prepare the artwork that you wanna make into stickers. PNG / PSD / PDF / etc.
if artwork is vector base skip to point 03
if bitmap like PNG, go to number 02 to make the base shape for cutting line.
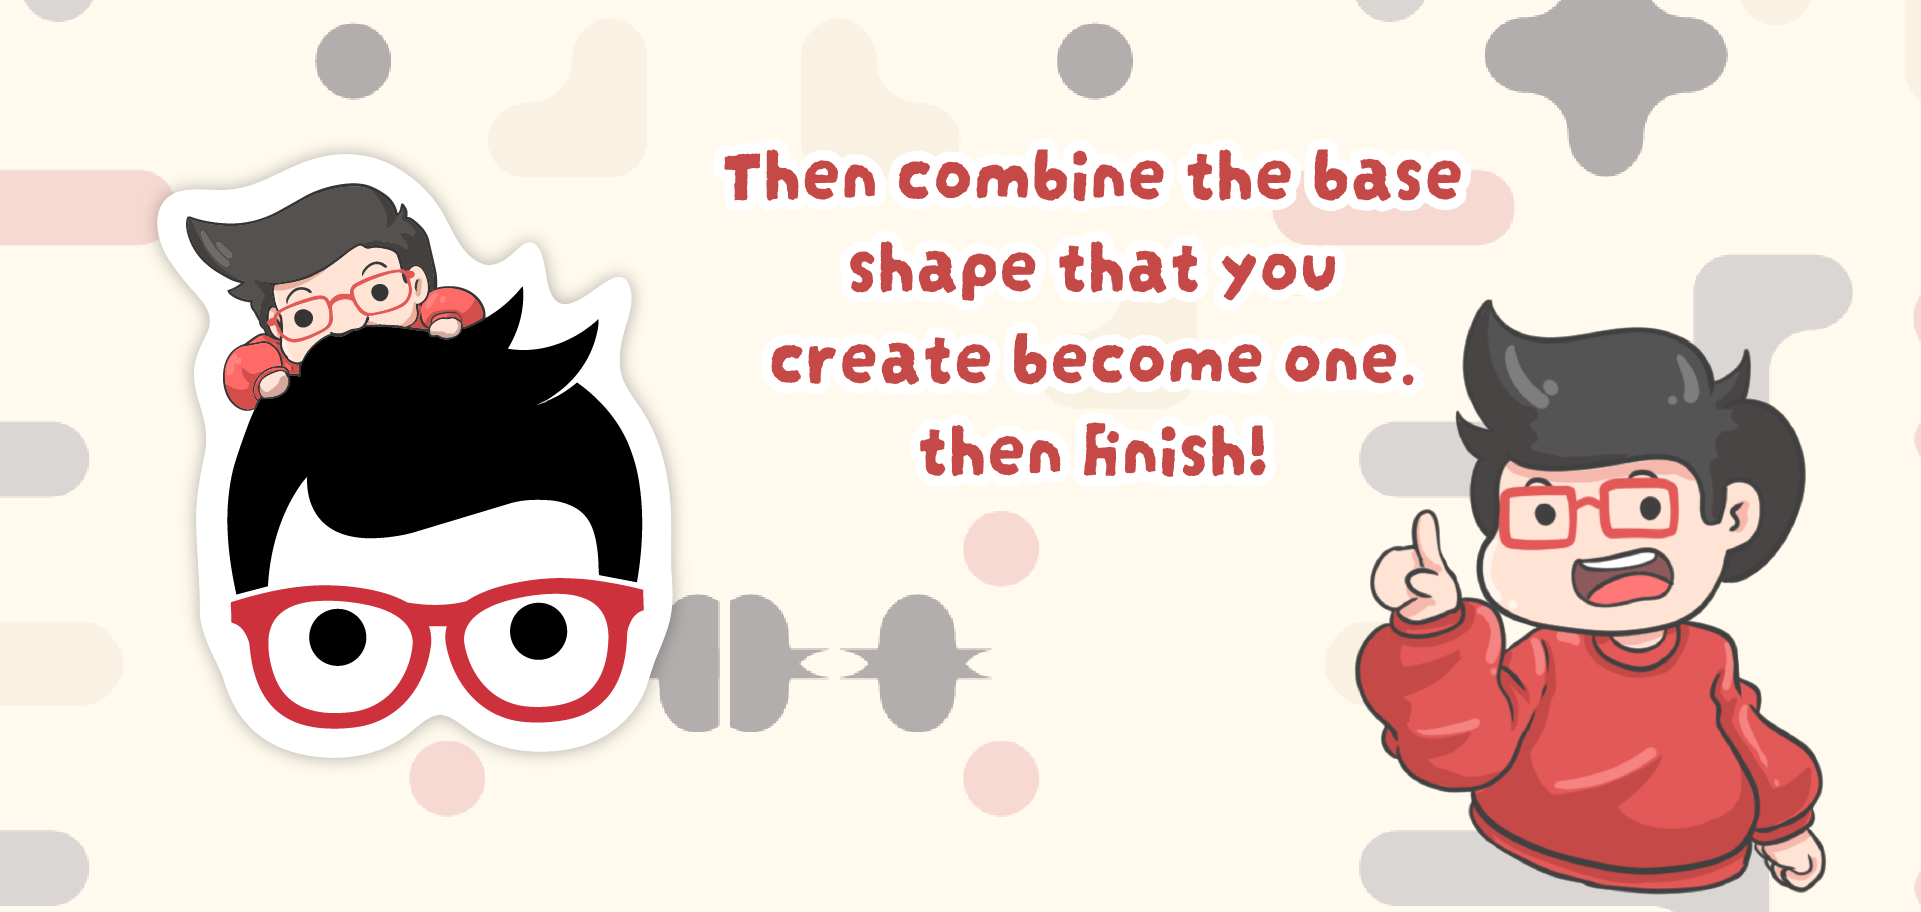
02. Make Base Vector
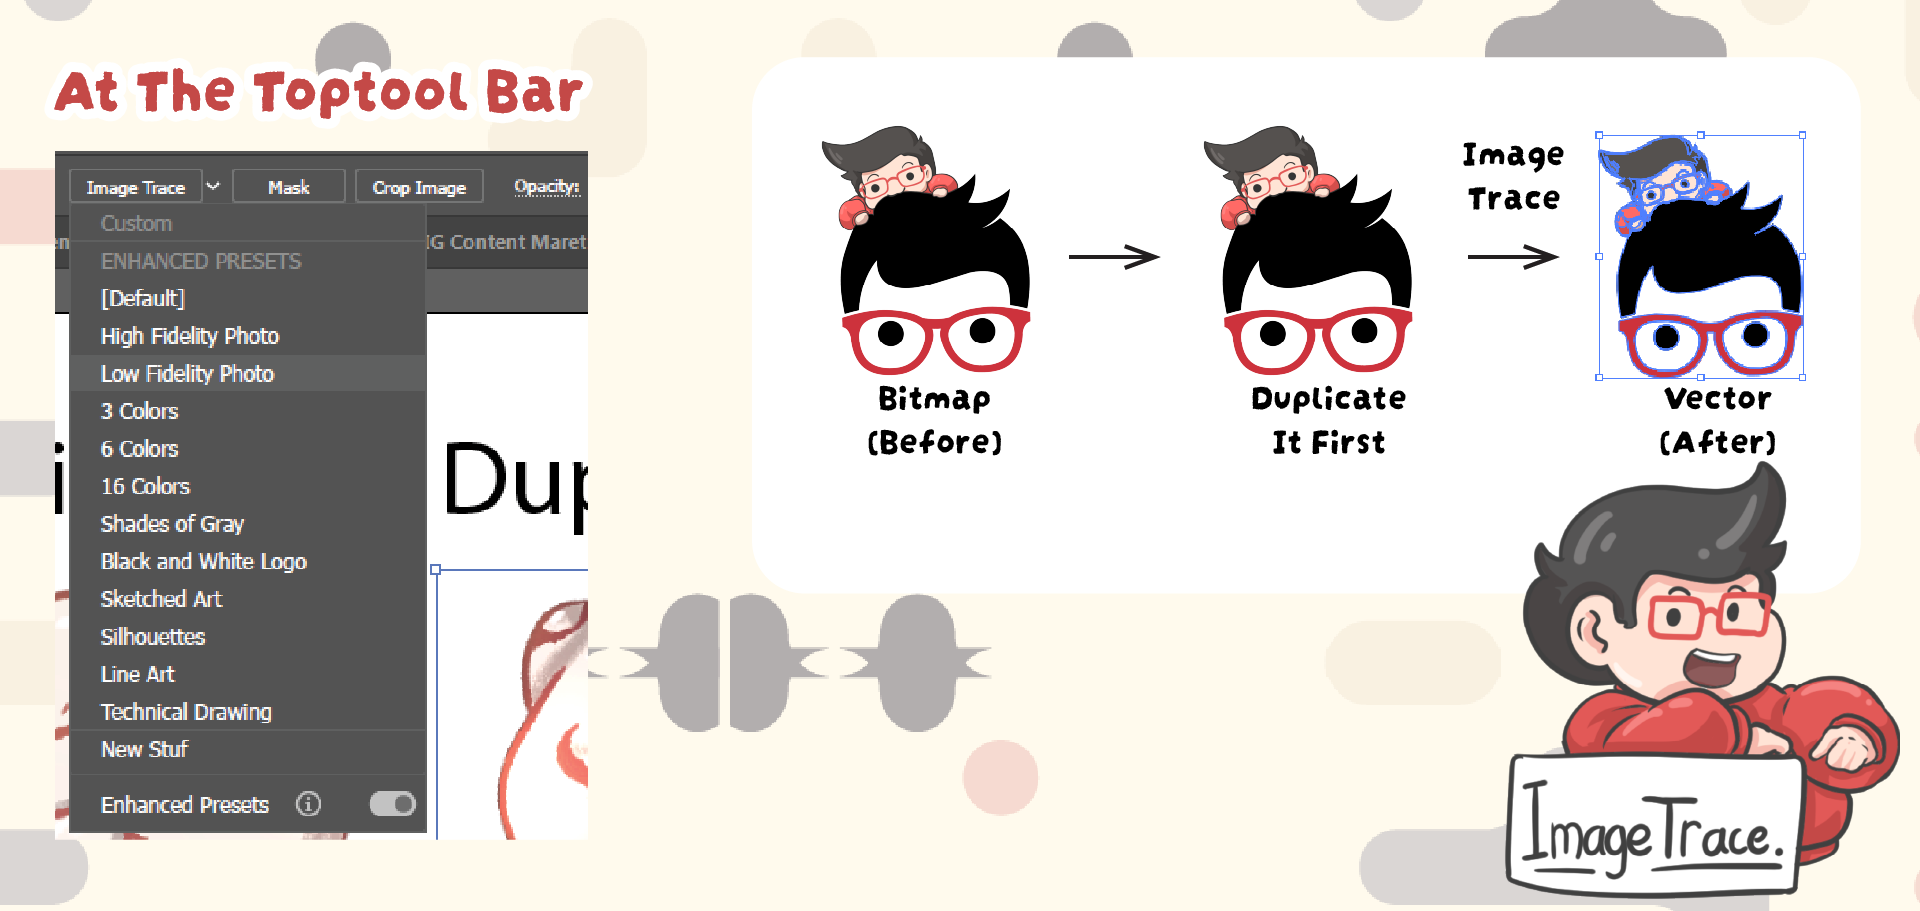
Duplicating your original artwork. This extra copy will be used to generate the cut line while keeping the original design untouched
Use Image Trace Convert the duplicated artwork into vector shapes using Image Trace. This helps create a solid outline that can later be used as the base for the cutting path.
03.Offset for Cut-Line
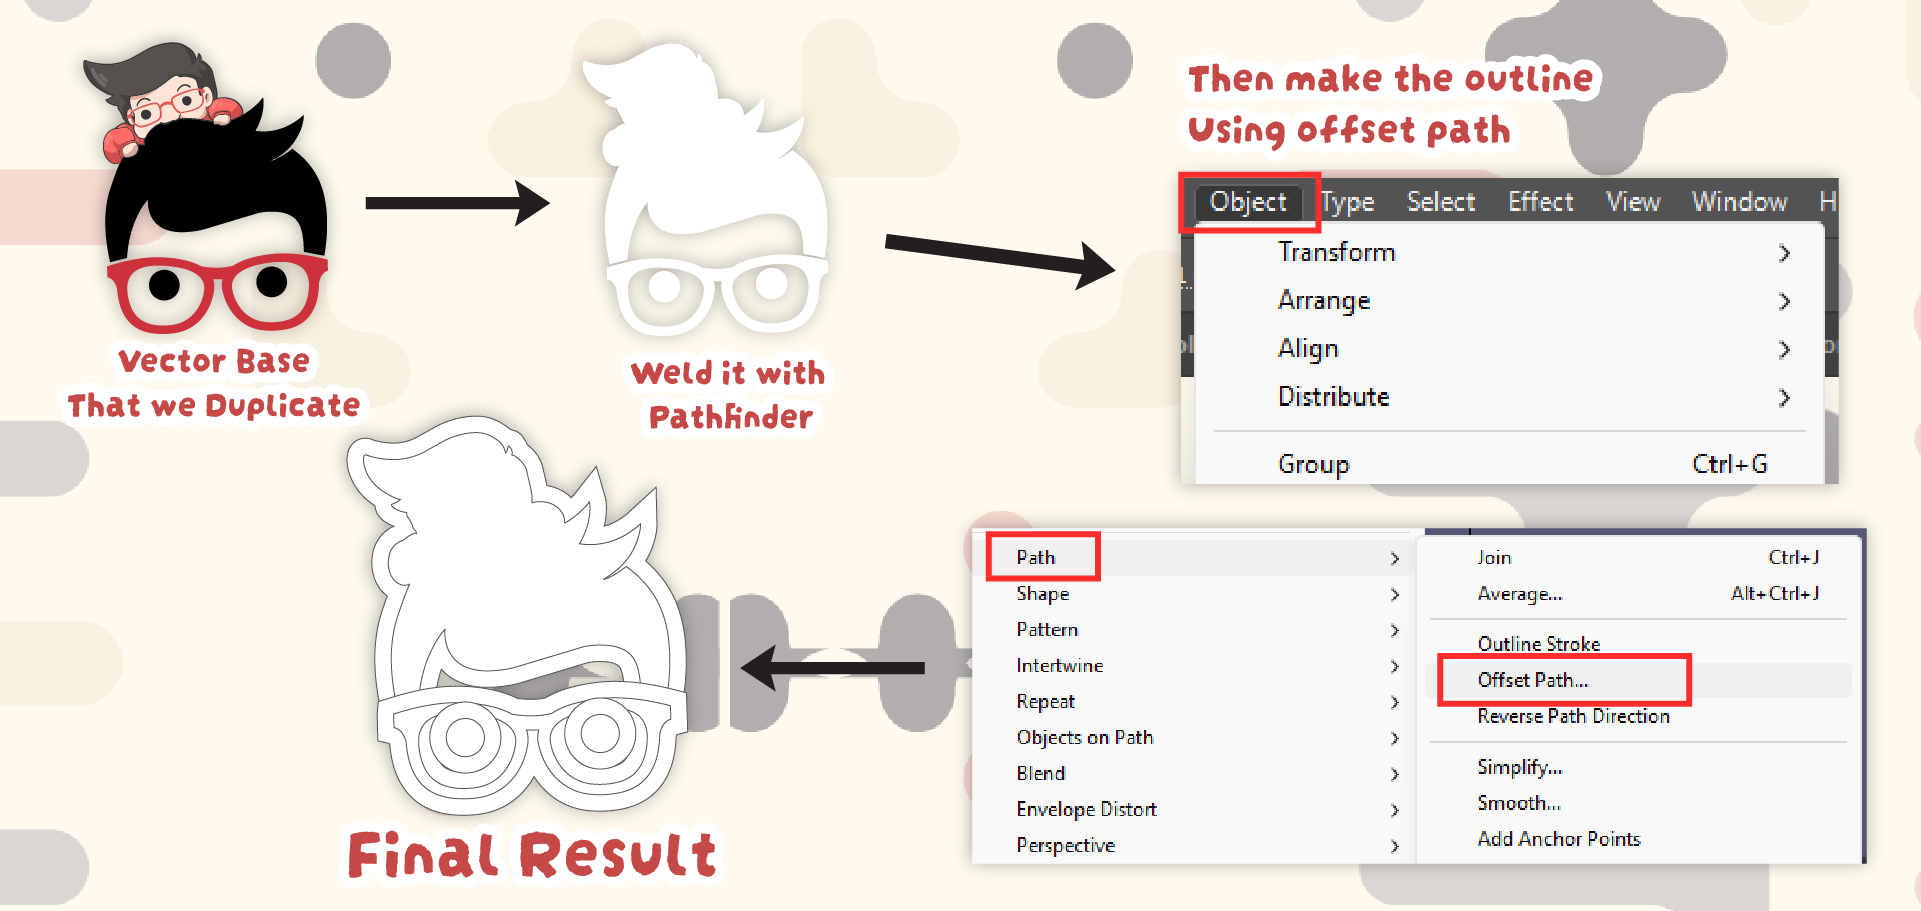
For Vector, Duplicate vector artwork then go to next step.
Merge the Artwork, After tracing, merge the shapes into one object. This creates a unified form so the cut line will follow the entire silhouette of the design.
Make Offset Path, Use Offset Path to expand the outline slightly outside the artwork. This will create a margin between the design and the cutting edge. Ussualy like 2-3mm.
Object > Path > Offset Path.
04.Merge Again if Needed
Sometimes the offset creates multiple shapes. Merge them again so the cut line becomes a single continuous path.
Also you can fill up the design so, no holes inside the stickers.

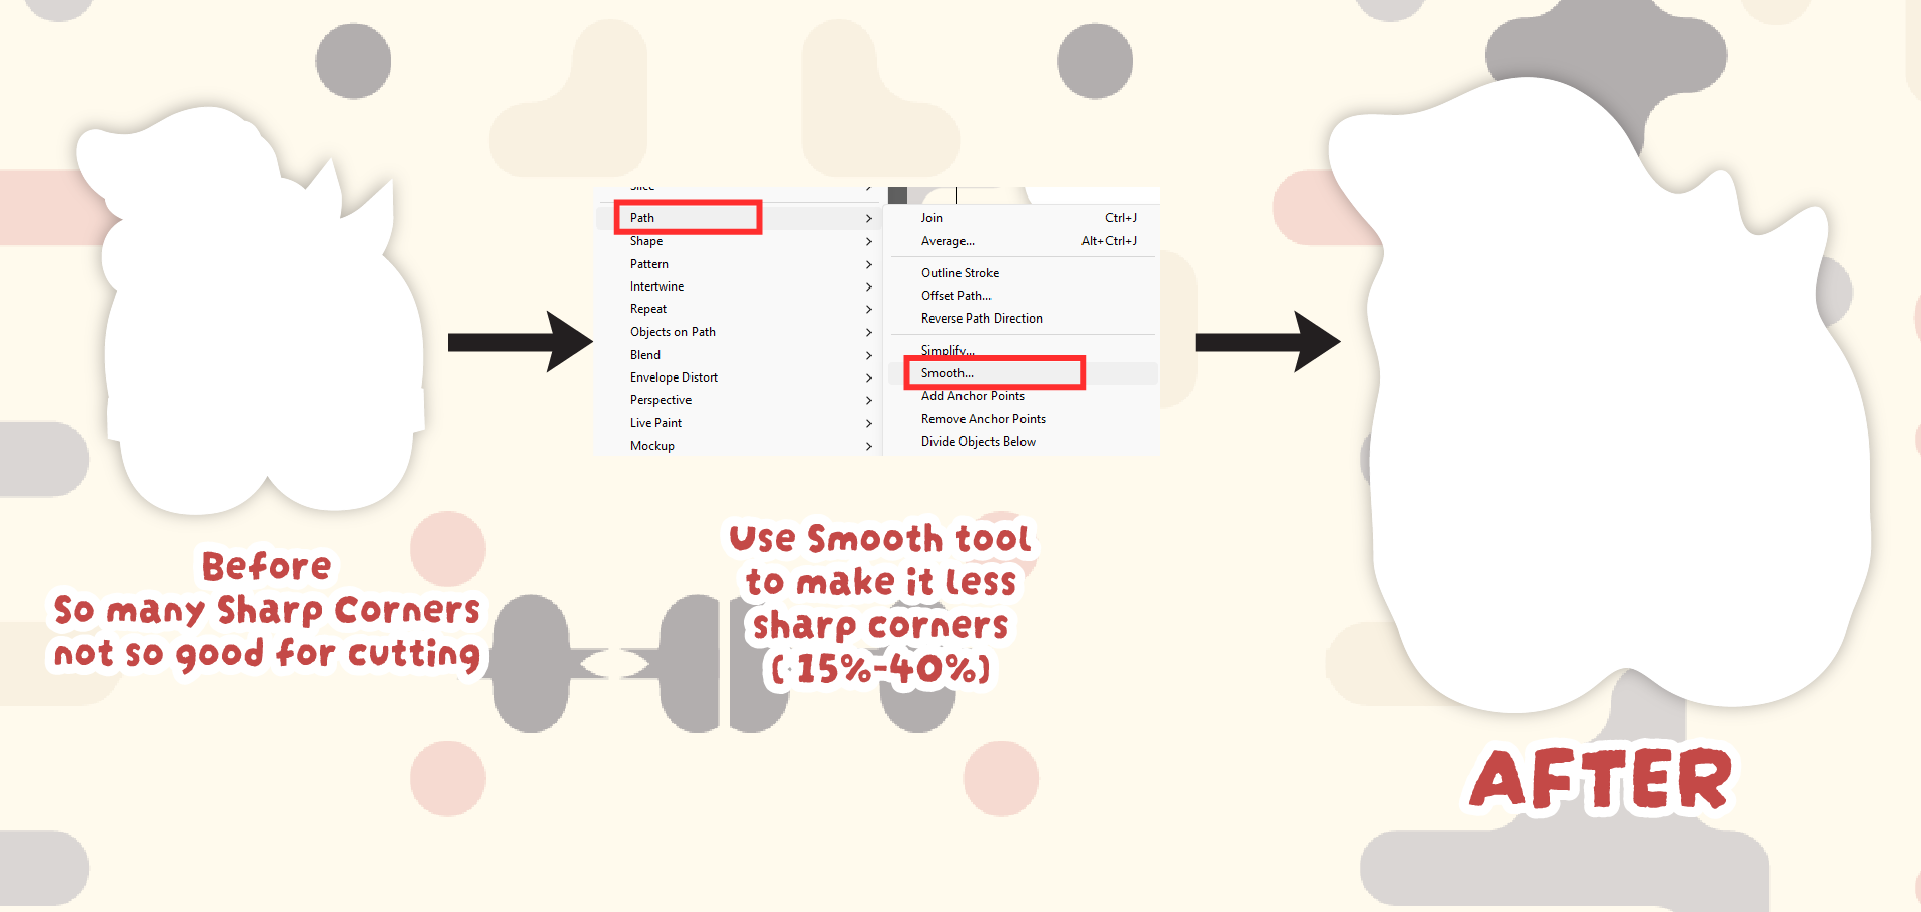
05.Smooth the Path
Apply Smooth to the path around 15–30%. This helps remove unnecessary anchor points and produces a cleaner, more natural curve for the cutter.
Object > Path > Smooth.
06.Align the Artwork to the Cut Line
Finally, center and align your original artwork with the new cut line to ensure the trimming path is perfectly positioned.